2024-07-02
GR5526 GUI专题(4) - Lvgl字体的位图数组合并转换为bin文件的说明


写技术文章
精选推荐

Whiplash
1. 简介
GR551x是汇顶科技推出的支持Bluetooth 5.1的单模低功耗蓝牙系统级(SoC)芯片,广泛应用于物联网(IoT)和智能穿戴设备领域。
基于GR5515 Starter Kit开发板适配的OpenHarmony代码也合入了master,我们可以直接拉取OpenHarmony主干代码,然后选择GR5515开发板型号进行编译开发。
本文主要介绍如何在Ubuntu系统上一步一步搭建OpenHarmony软件开发环境,编译出可执行文件。
2. 准备
3. 工具安装
3.1 安装必要的库和工具
使用如下apt-get命令安装编译环境必要的库和工具:
sudo apt-get install build-essential gcc g++ make zlib* libffi-dev e2fsprogs pkg-config flex bison perl bc openssl libssl-dev libelf-dev libc6-dev-amd64 binutils binutils-dev libdwarf-dev u-boot-tools mtd-utils
3.2 安装Python3
① 在Linux中打开终端,输入 python3 --version 命令查看python版本;
② 如果版本低于python3.7,需要使用以下命令重新安装 python3.8 :
sudo apt-get install python3.8
③ 设置python和python3软链接为
python3.8
:
sudo update-alternatives --install /usr/bin/python python /usr/bin/python3.8 1
sudo update-alternatives --install /usr/bin/python3 python3 /usr/bin/python3.8 1
④
安装并升级Python包管理工具
pip
:
sudo apt-get install python3-setuptools python3-pip -y
sudo pip3 install --upgrade pip
3.3 安装hb
安装
hb
之前,需注意要先安装
python3.8
和
pip
。
① 运行如下命令安装
hb
:
python3 -m pip install --user ohos-build② 将hb工具加入系统环境变量,依次执行:
vim ~/.bashrc
export PATH=~/.local/bin:$PATH     #在.bashrc文件末尾添加
source ~/.bashrc
③ 执行 hb -h , 有打印以下信息即表示安装成功:
usage: hb

OHOS build system

positional arguments:
  {build,set,env,clean}
    build               Build source code
    set                 OHOS build settings
    env                 Show OHOS build env
    clean               Clean output

optional arguments:
-h, --help show this help message and exit提示:如果执行hb -h会报错,可先不处理,待openhamony源码下载下来再处理,参见文末常见问题处理。
3.4 安装repo
OpenHarmony的源码需要使用 repo 进行拉取,repo 安装步骤:
① 创建repo安装目录:
mkdir ~/tools/repo② 下载repo:命令行输入
wget https://storage.googleapis.com/git-repo-downloads/repo -P ~/tools/repo/③ 改变执行权限:命令行输入
chmod a+x ~/tools/repo/repo ④ 执行
vim ~/.bashrc
将
repo
加入系统环境变量:在
~/.bashrc
文件末尾加入:
export PATH=~/tools/repo:$PATH
export REPO_URL=https://mirrors.tuna.tsinghua.edu.cn/git/git-repo/
⑤ 执行
source ~/.bashrc
,使环境变量立即生效。
3.5 安装git-lfs
使用repo拉取openharmony源码会使用到
git-lfs
,安装
git-lfs
:
3.6 安装编译工具链
① 编译链工具推荐使用gcc-arm-none-eabi-10-2020-q4-major。 (点击下载)。

② 下载后的工具包需拷贝到 Ubuntu 系统中,假如放入 ~/tools 目录下,执行解压:
tar -jxvf gcc-arm-none-eabi-10-2020-q4-major-x86_64-linux.tar.bz2 ③ 执行
vim ~/.bashrc
,文件末尾加入:
export PATH=/home/dong/tools/gcc-arm-none-eabi-10-2020-q4-major/bin:$PATH

④ 执行
source ~/.bashrc
,使之立即生效。
4. 源码获取
① 新建代码存放目录(用户可以自行指定为其他目录),并进入:
mkdir ~/openharmony
cd ~/openharmony
② 打包下载Master分支的OpenHarmony源码:
repo init -u https://gitee.com/openharmony/manifest --no-repo-verify
repo sync -c                     # 下载代码
repo forall -c 'git lfs pull'    # 下载大容量二进制文件
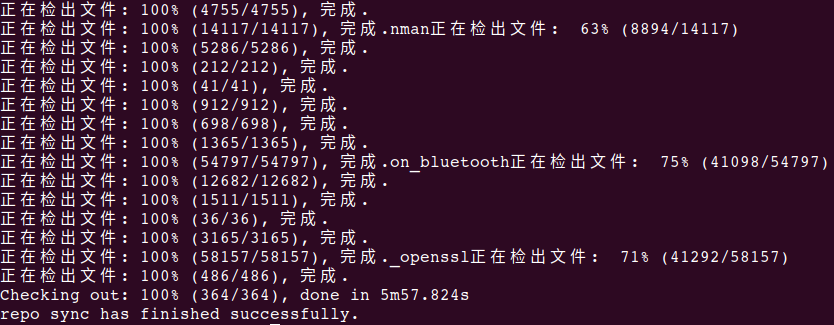
代码同步成功:
5. 源码编译
①
进入源码根目录,执行:
hb set 出现开发板的选择界面,使用键盘的上、下按键控制指针位置上下移动,指针指向gr5515_sk_xts_demo时,按下Enter键选中开发板:
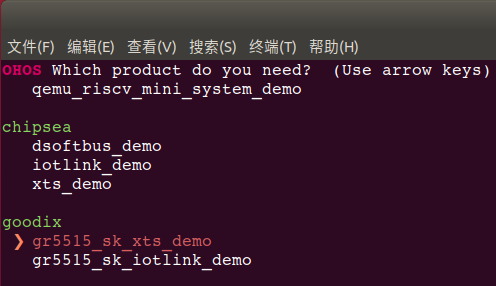
goodix
    >gr5515_sk_iotlink_demo   # 蓝牙连接示例
     gr5515_sk_xts_demo       # XTS测试
② 开始编译:
hb build -f   # 全编译
hb build      # 增量编译
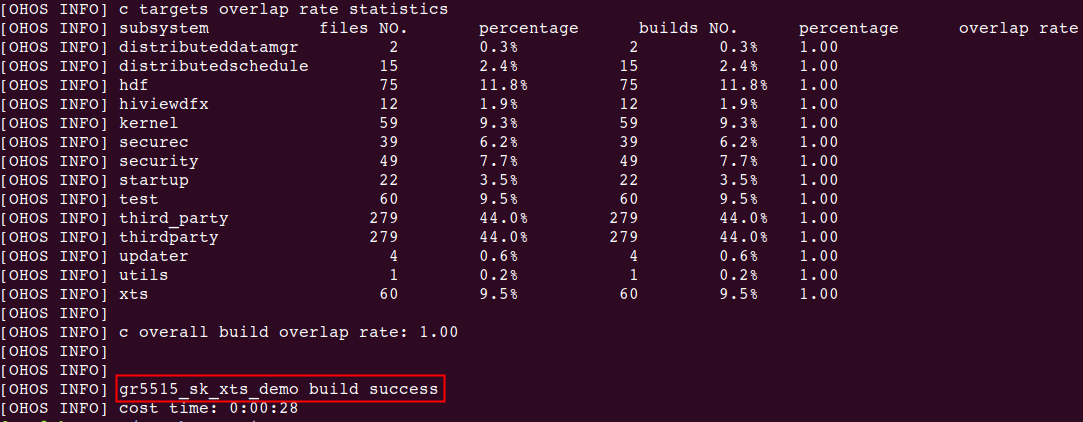
工程编译成功:
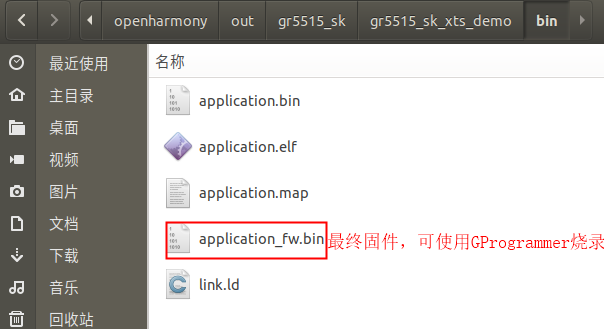
编译结束后,可执行存放位置:openharmony/out/gr5515_sk/gr5515_sk_xts_demo/bin/application_fw.bin
至此,基于GR551x的OpenHarmony代码编译环境就搭建好了。
6. 常见问题
问题1:当安装python3.8遇到以下问题:

解决办法:
需要更新源,执行
sudo vim /etc/apt/sources.list
, 复制如下配置到
sources.list
文件末尾,保存退出。
deb http://mirrors.aliyun.com/ubuntu/ bionic main restricted universe multiverse
deb-src http://mirrors.aliyun.com/ubuntu/ bionic main restricted universe multiverse

deb http://mirrors.aliyun.com/ubuntu/ bionic-security main restricted universe multiverse
deb-src http://mirrors.aliyun.com/ubuntu/ bionic-security main restricted universe multiverse

deb http://mirrors.aliyun.com/ubuntu/ bionic-updates main restricted universe multiverse
deb-src http://mirrors.aliyun.com/ubuntu/ bionic-updates main restricted universe multiverse

deb http://mirrors.aliyun.com/ubuntu/ bionic-proposed main restricted universe multiverse
deb-src http://mirrors.aliyun.com/ubuntu/ bionic-proposed main restricted universe multiverse

deb http://mirrors.aliyun.com/ubuntu/ bionic-backports main restricted universe multiverse
deb-src http://mirrors.aliyun.com/ubuntu/ bionic-backports main restricted universe multiverse
然后更新源和软件:
sudo apt-get update
sudo apt-get upgrade
最后再重试前面安装python3.8的命令。
问题2:如果执行
hb -h
提示报错:

解决办法:
① 卸载当前版本的hb:
python3 -m pip uninstall ohos-build ②
切换到OpenHarmony的源码目录,执行如下命令,安装对应版本的hb:
pip3 install build/lite 问题3:repo拉取源码,找不到
git-lfs
,部分仓库无法同步:
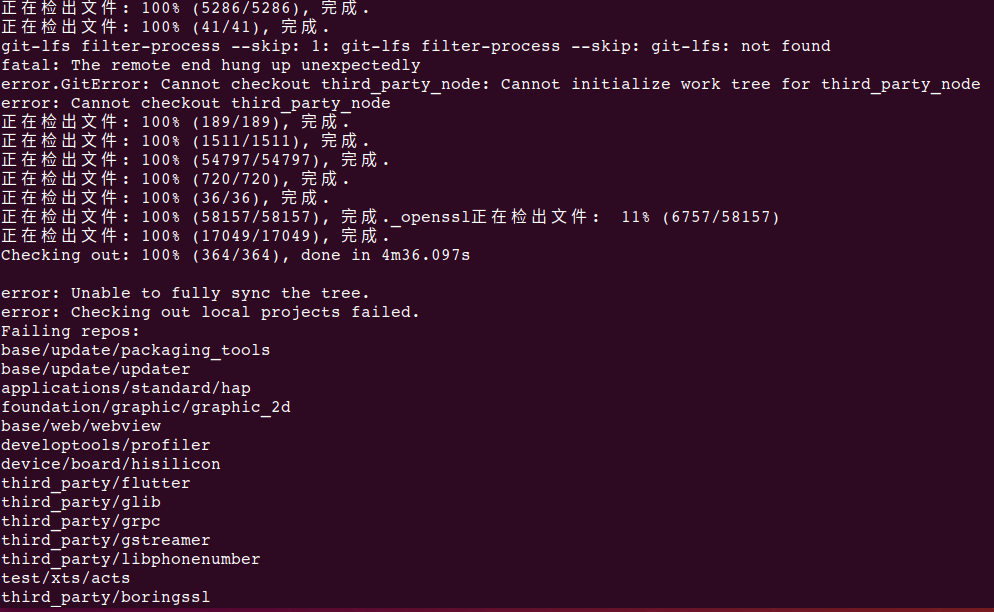
解决办法:安装git-lfs : sudo apt-get install git-lfs

打开微信,使用“扫一扫”即可关注